Back

Dead Space 211-V Plasma Cutter


×THIS PAGE IS IN PROGRESS×

Holy cow! Pardon my French, but I played the shit out of the Dead Space Remake. Beat my Impossible run, and got all the 'chieves! The Dead Space series has always been one of my favorites. Yes, even 3. Typically, I want to experience new games, man! Seems like a lot of the game companies are trying to buy into the whole remake idea(currently 2023), but if they do it to the standard of the 2023 Dead Space remake, I welcome it.

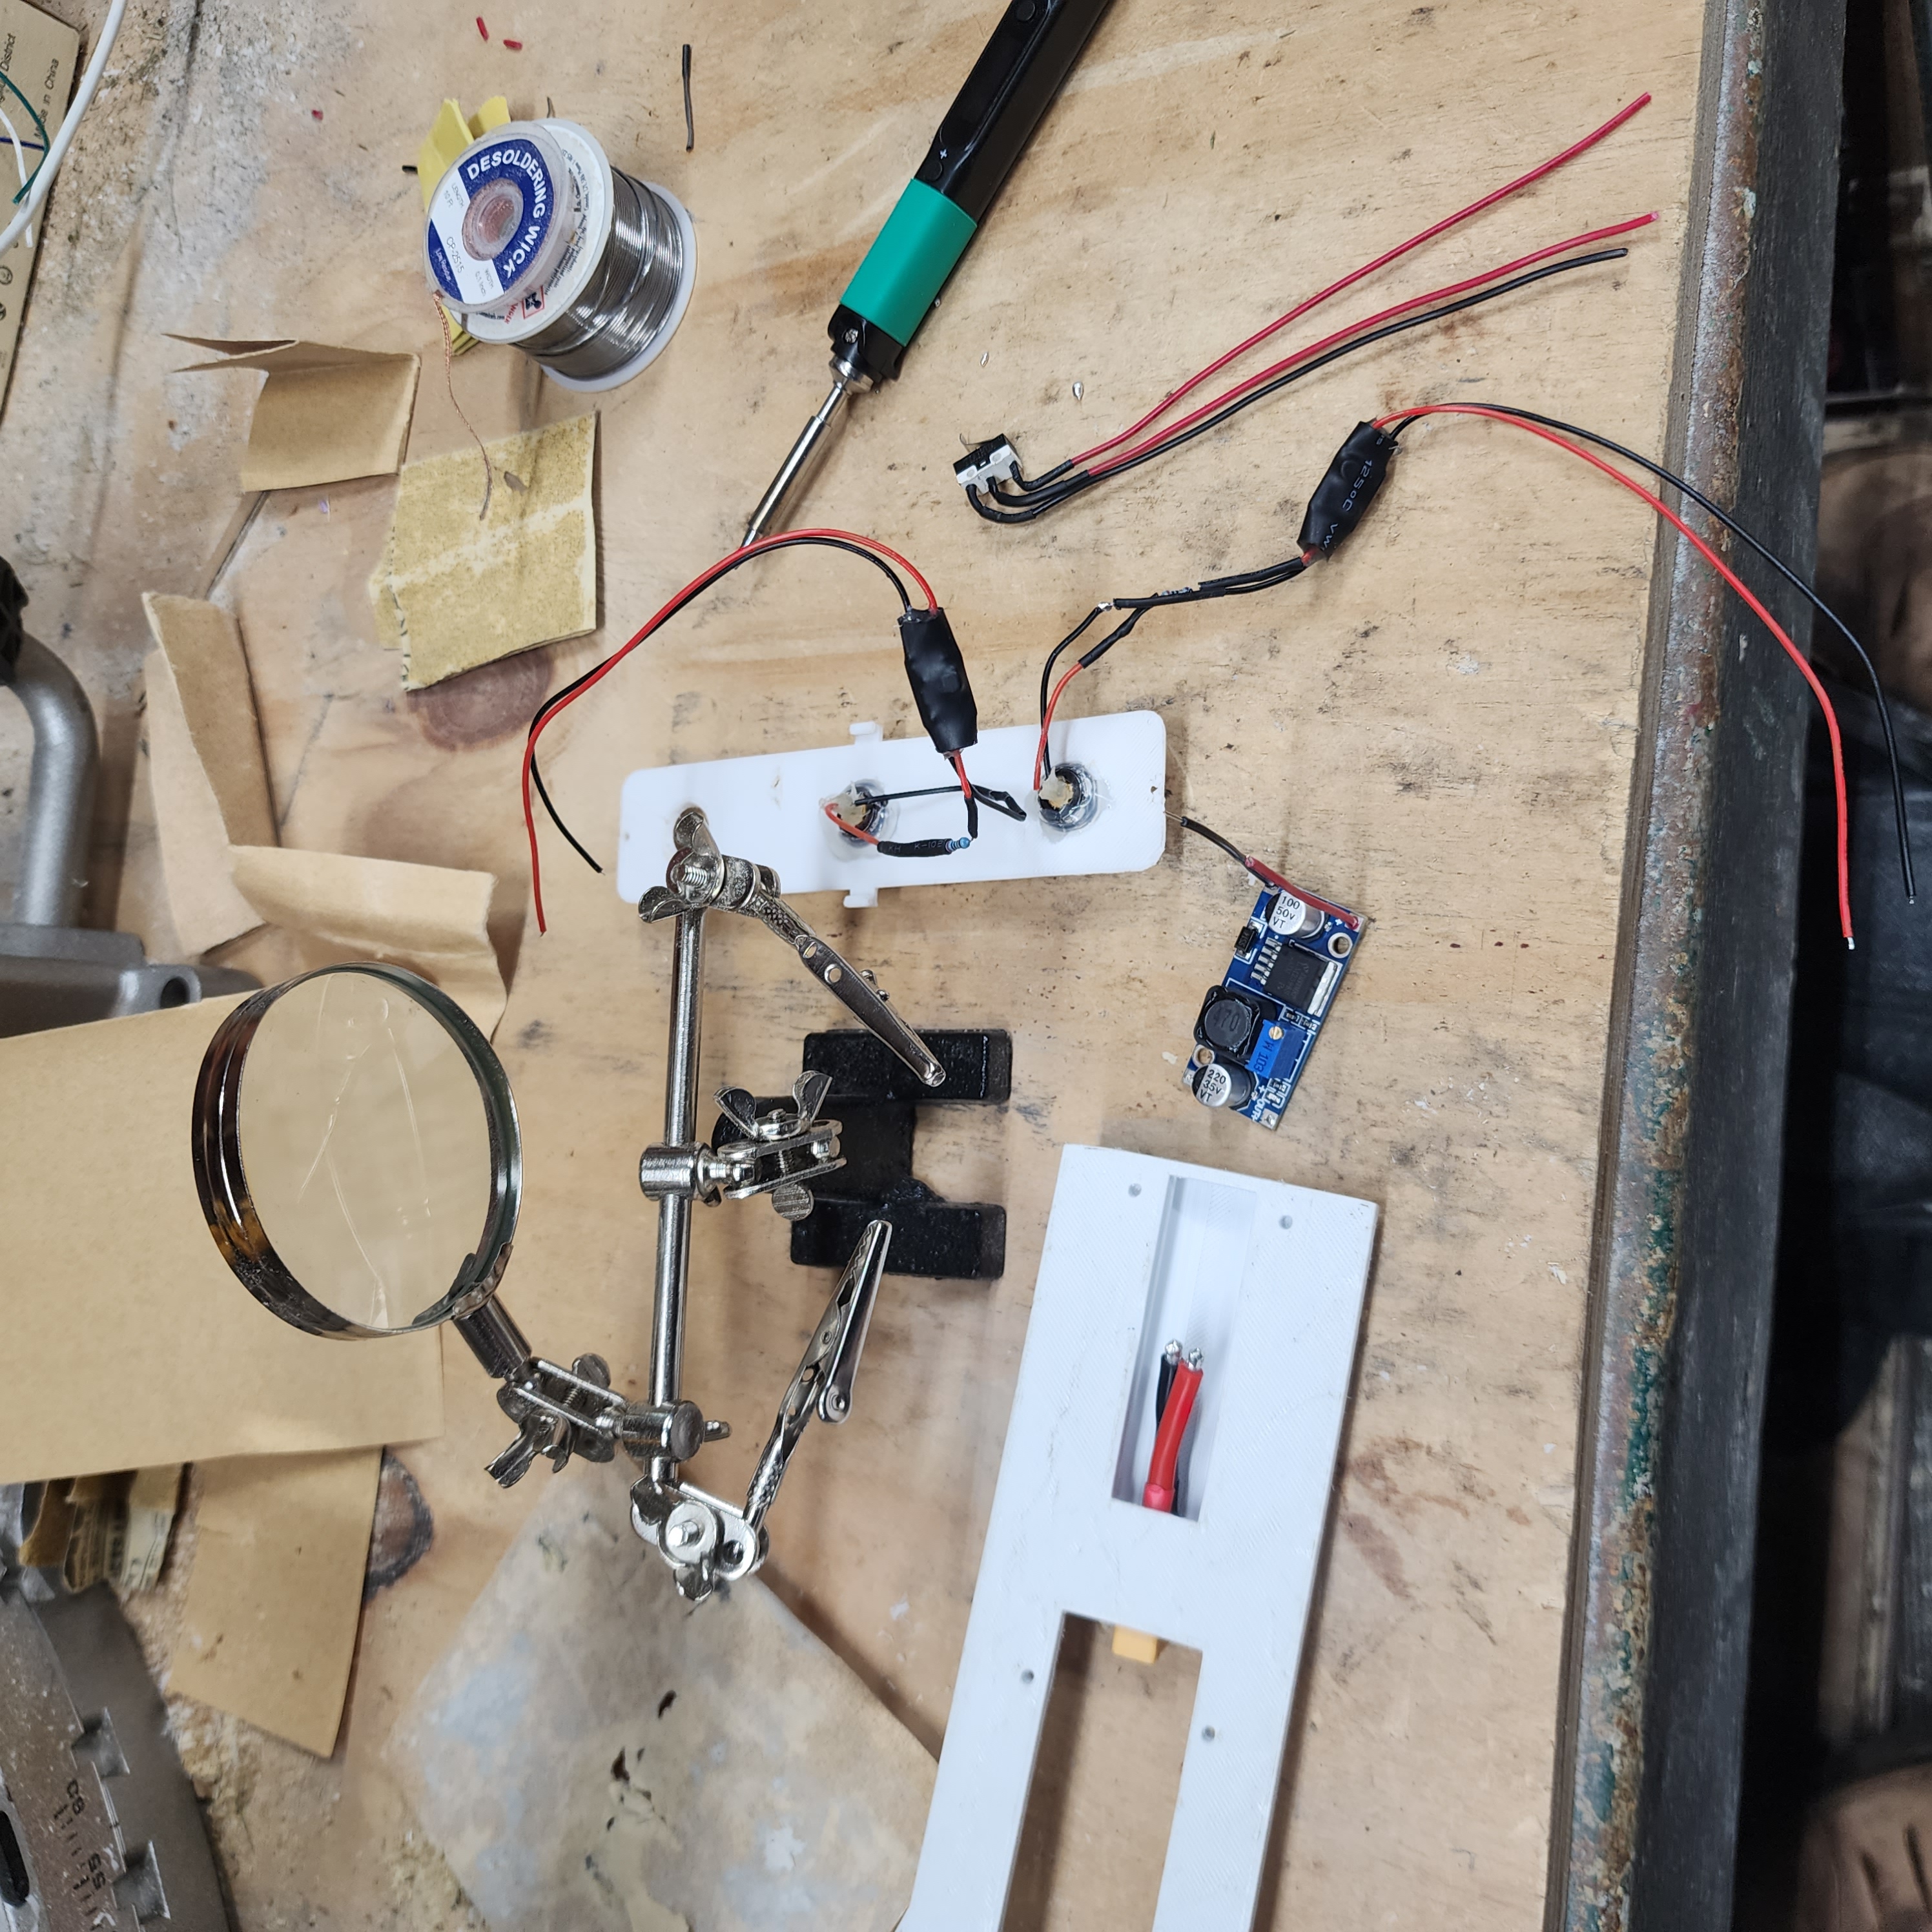
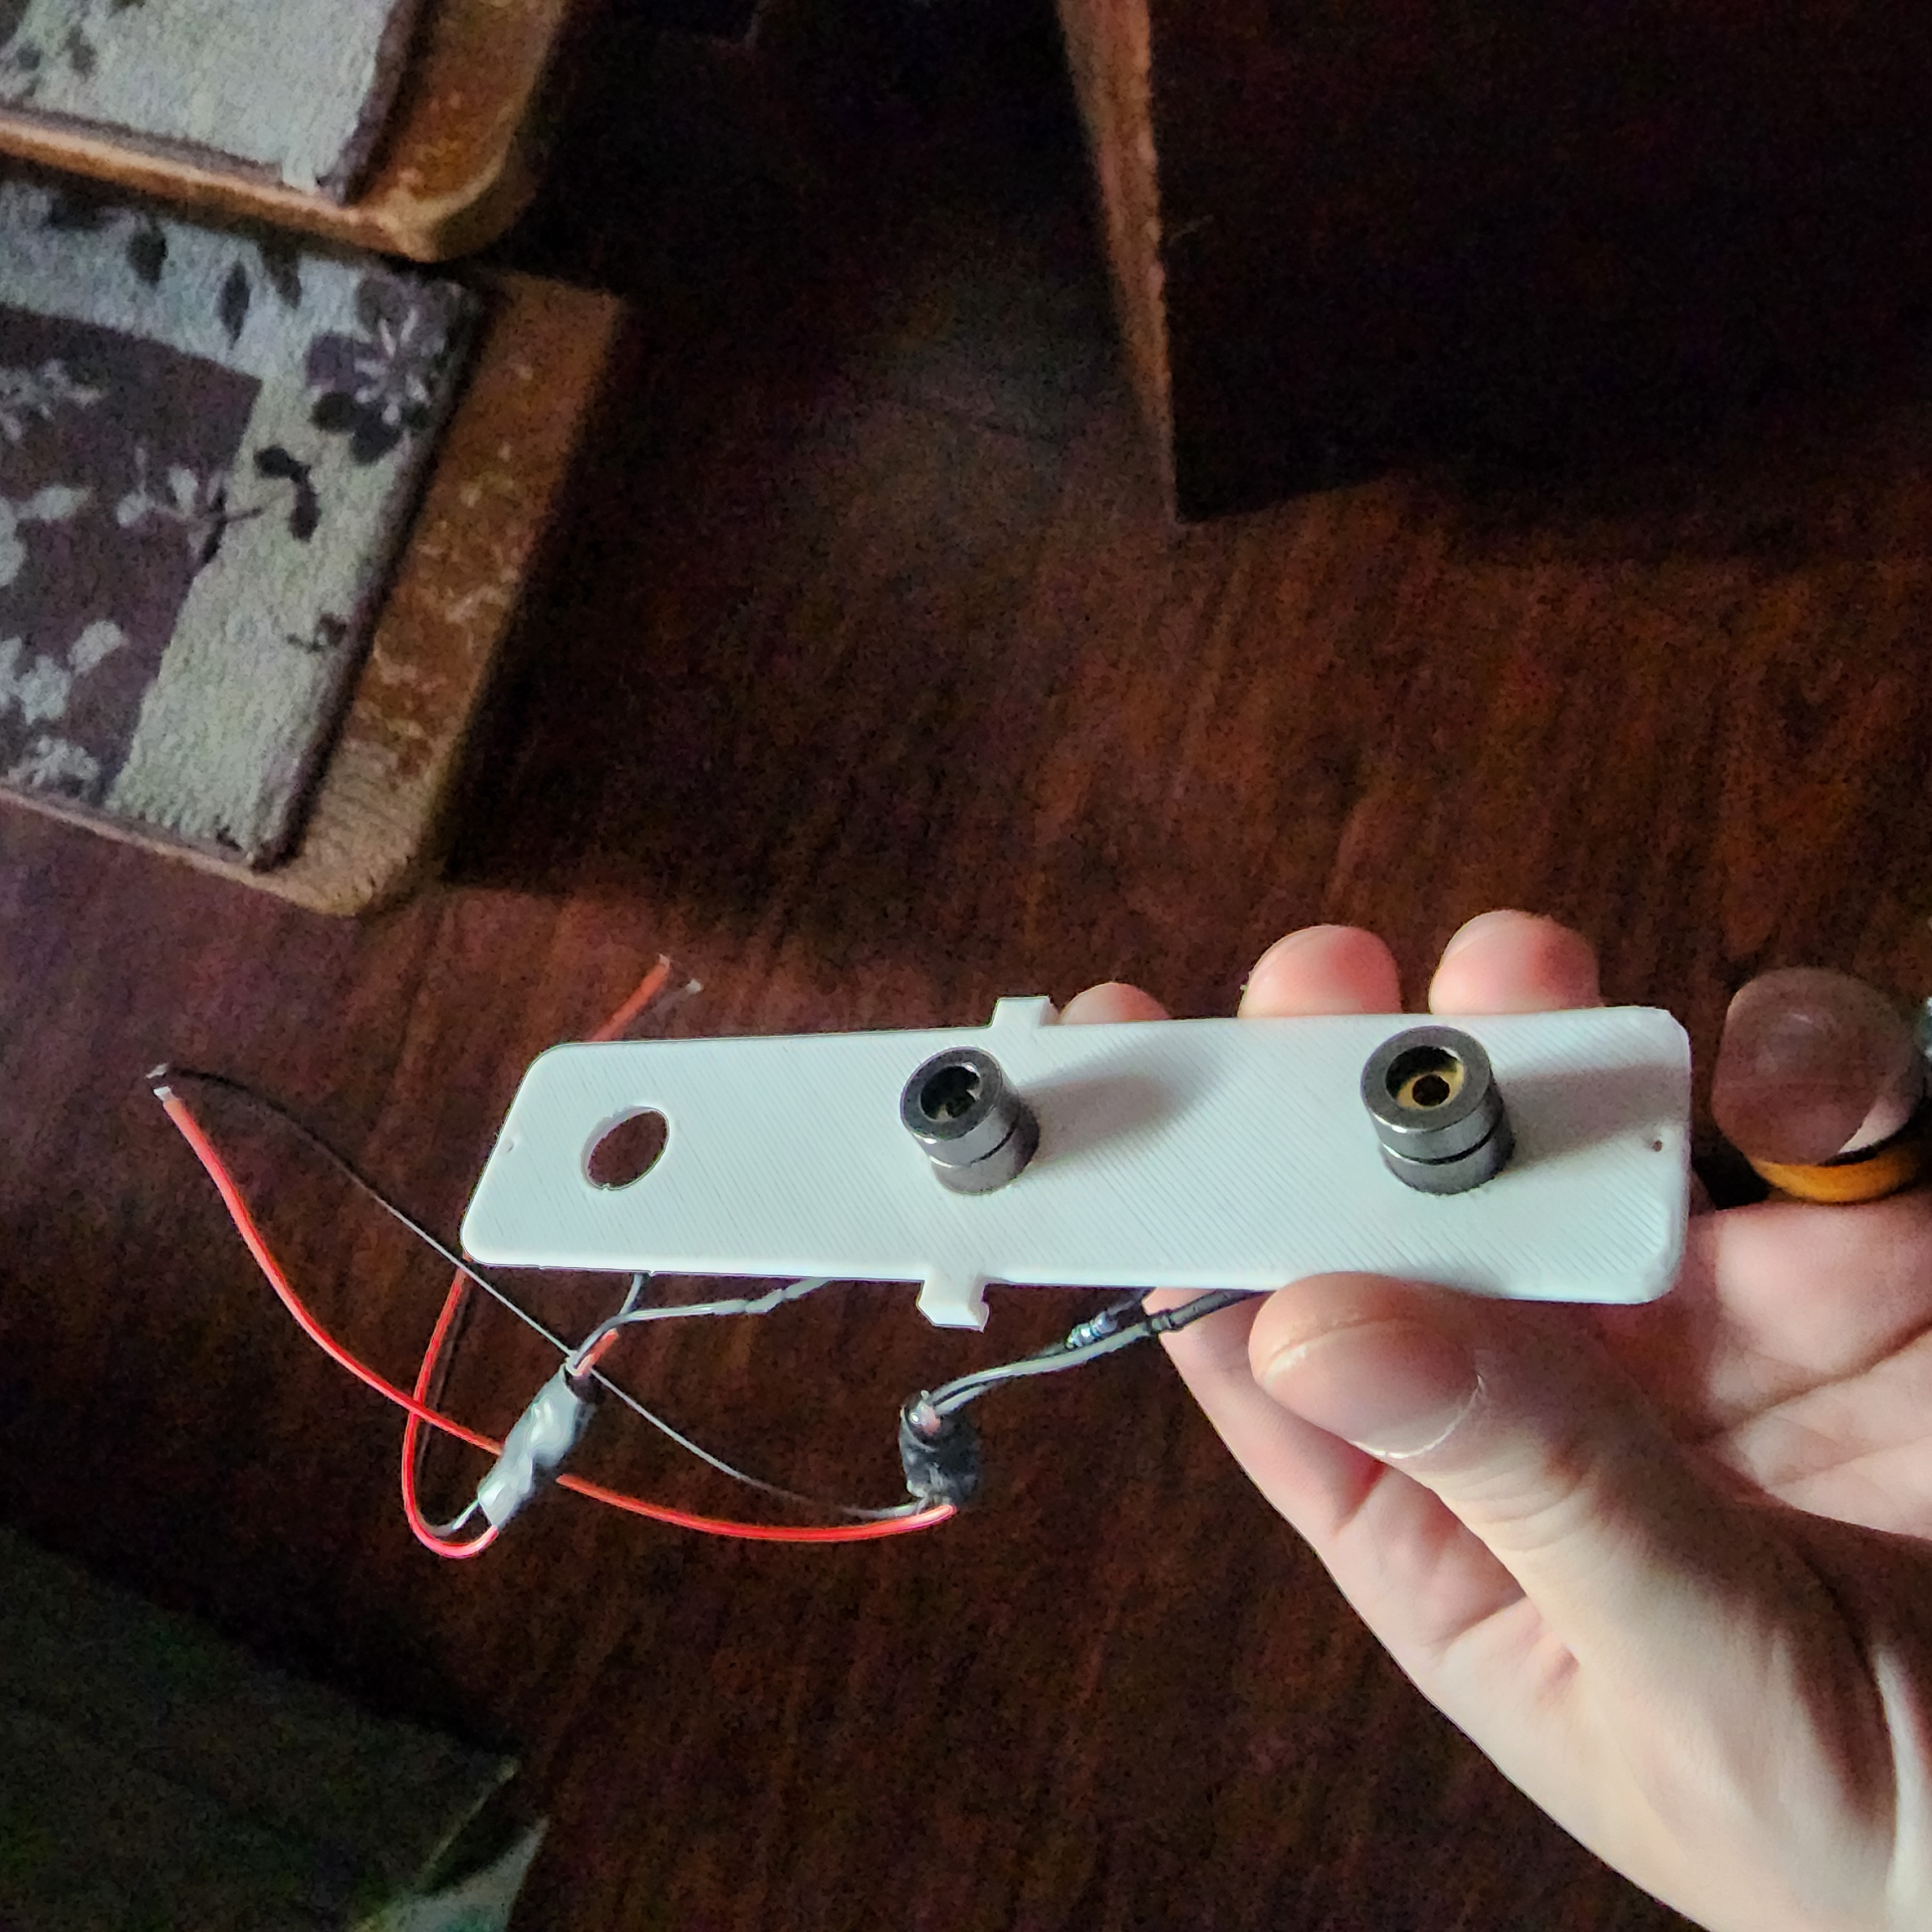
Well, having just acquired a 3D printer... Of course I went and looked for a model of the iconic 211-V Plasma Cutter from the first game. I managed to find just that, and then some! A user named Ghost3D on Instructables put out a pretty sick set of models to make the Plasma Cutter as close to a reality as it can be at the moment! Here's the link to his awesome guide, models, and code.

At this point in time, blue lasers seem to be hard to find in an reasonably priced, small form factor. I managed to find some violet-blueish laser diodes on Amazon for like, 11 bucks a pop. At first, they were rather long, due to what I presume, was protective metal shielding, but this shielding simply threaded away from the tip of the diode. The laser wires had a regulator chip of some kind soldered between the wires to the laser and the end of the strand. That made it impossible to fully remove the extra metal shielding without cutting the wires between the lasers and the regulator, and resoldering them once the shielding was removed.

The Plasma Cutter's 'magazine' holds a small, 7.4V RC battery that powers the whole ciruit.

I'm usually someone who dislikes variation from canon designs that were great to begin with, but I hot glued the diodes in place so that they jutted out from the front plate a bit. I had to do this in order to allow for clearance with the fin retractor pinion that would sit in the rotator blade behind it. Despite having to improvise, I think it looks pretty rad! I actually had the wiring come loose a few times while trying to route the wires through the pieces. One of which, the whole lead on the diode fell off, requiring me to buy a 4th one to replace it. After that, I hot glued the lengths of wire to the back of the front plate to prevent them from moving around too much while working on the other lasers. I then bent the wires so that they ran under the extender pinion, through the opening in the rotating blade, and into the main body.

By this point, I've assembled the front rotating blade with a micro servo and cool 3D printed pinion-piece from Ghost3D's design, and I glued the fins to the pieces slide along the notches in the rotating blade. The heavier duty servo has been attached to the rotating blade, and all current wires are pulled through the main-body handle of the Plasma Cutter.

Everything's Better With a Fresh Paintjob


UPDATE 9/30/24: Welp, it's only been a year and half so. I've been holding on for dear life, in life, for quite a while, but I'm trying to get back to those things I've lost all motivation for. Being that I originally printed this on my Ender 3 (This was probably the best quality print I had in my experience with it), I wanted to re-print all the pieces on my X1C! I learned a bit about how much to sanding truly needed to be done have a quality print after painting. I could have sanded a bit longer on the main body where the rotating blade connects, but I'm very happy just to see it looking a bit more canon. It wouldn't be something I've worked on without breaking a couple components. I was uh... unsuccessful in removing the lasers from my first attempt, without damaging the connection legs... I still haven't rewired everything- I'm not quite there on my motivational scale yet. I had just enough to print all the pieces again, sand em' down, and paint them over the course of a week so that I could take it as a prop to the Renaissance Festival for Steampunk weekend! I was up until 3AM making final touches and got 5 hours of sleep, only to be told I wasn't going to be able to bring it in. I was unaware, but a CPL carrier had a misfire the year previously, so a new rule was enacted prohibiting any props that even slightly resemble a firearm.

Here's a video of it... kinda working. Don't mind the chair, it's fine, everything's fine. The Plasma Cutter's original code is written so that it does a "quick calibration routine"; It makes sure the "blade" is set vertical at it's starting position, rotates to the specified horizontal position, and returns to vertical orientation. At the moment, I can't seem to get the blade rotator to go to its specified, intended position. No value I set the horizontal rotation to seems to apply. You can also hear the fin extender motor working way too hard doing whatever it's doing.

I got an M6 threaded rod, and asked someone I knew at work to cut it down for me. Then, I took a few pieces of pre-cut heat shrink tubing that was just about the same size as the rod, and shrunk them down, giving a look I'm personally quite satisfied with. Then the end-block stabilizer piece was threaded on with a nut I glued into the hole that was made for it in the original design. Two more nuts were used to tighten this piece and the threaded rod to the main body.

Code

×IN DEVELOPMENT×


I'm not sure how similar this code is to Ghost3D's original make... I've probably made quite the mess out of it, but I wanted to also implement a gyroscope into my design! My code variates by using the gyroscope to automatically extend the fins and turn on the lasers when the Plasma Cutter is raised upwards. When lowerd, the fins retract and lasers are powered off.

I also made an edit to the code so that while the Plasma Cutter is raised, pulling the trigger will retract the fins slighlty and quickly return them to fully extended.


Instagram Snapchat Discord Steam Profile Link SoundCloud